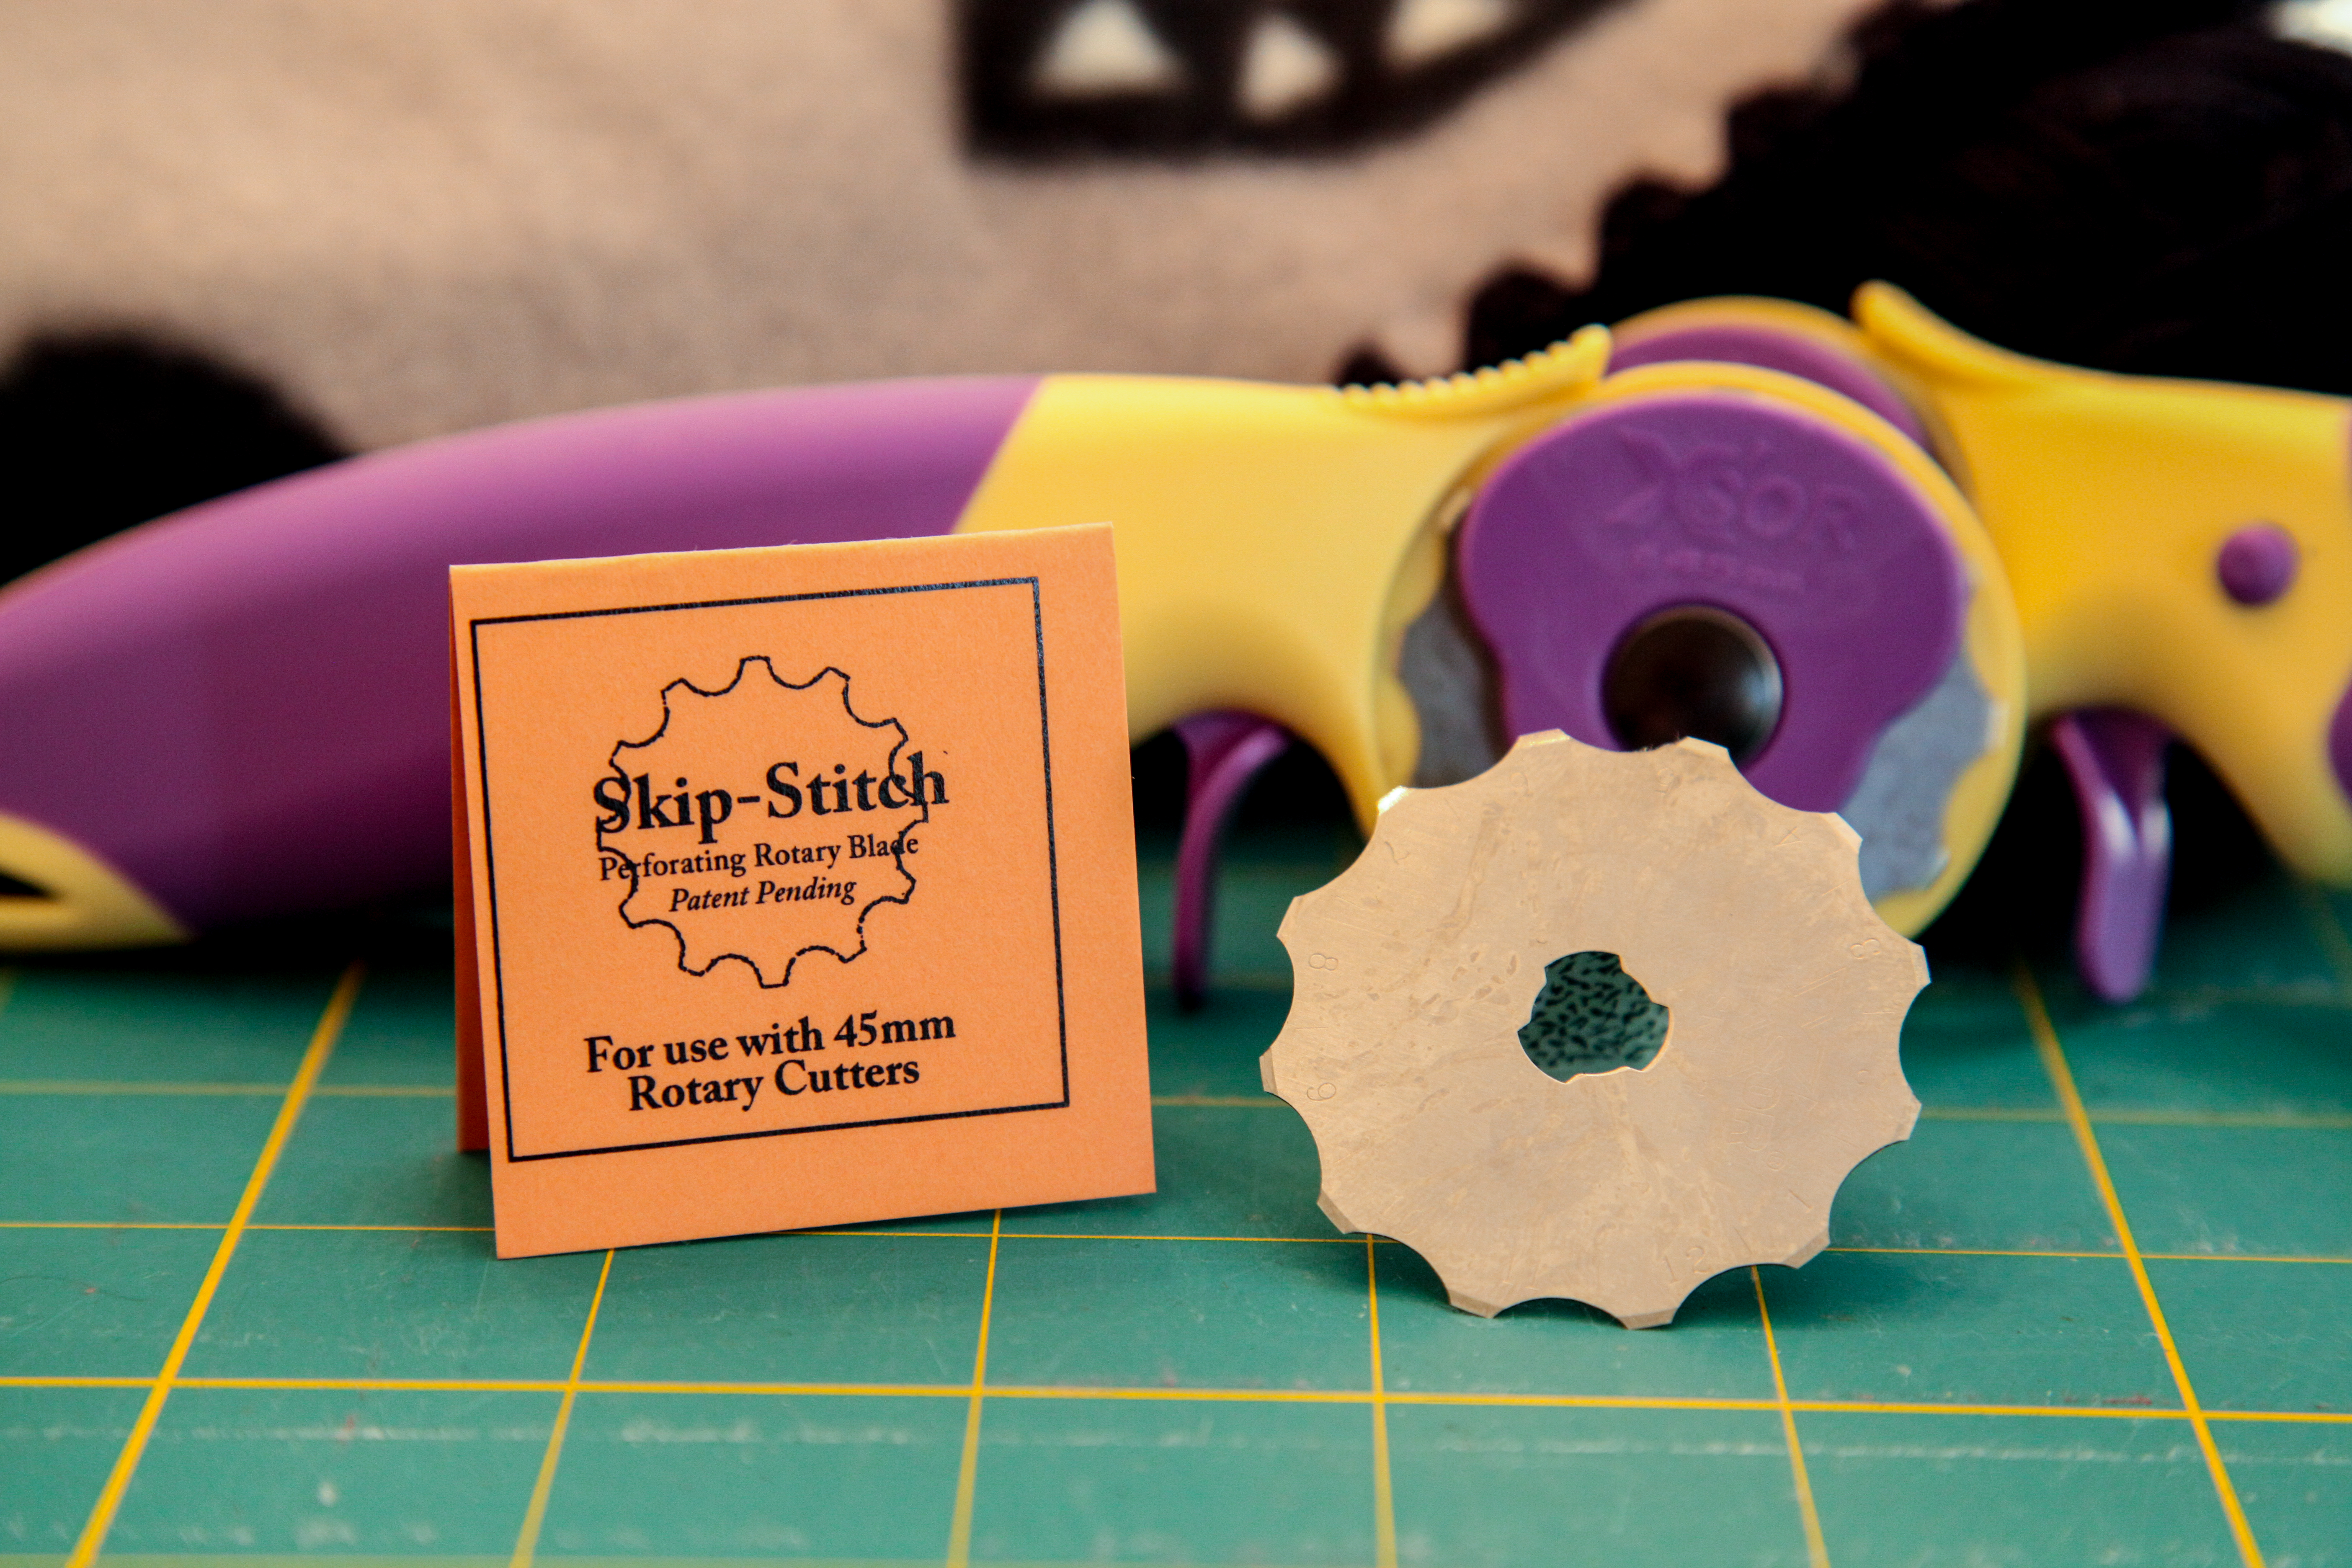
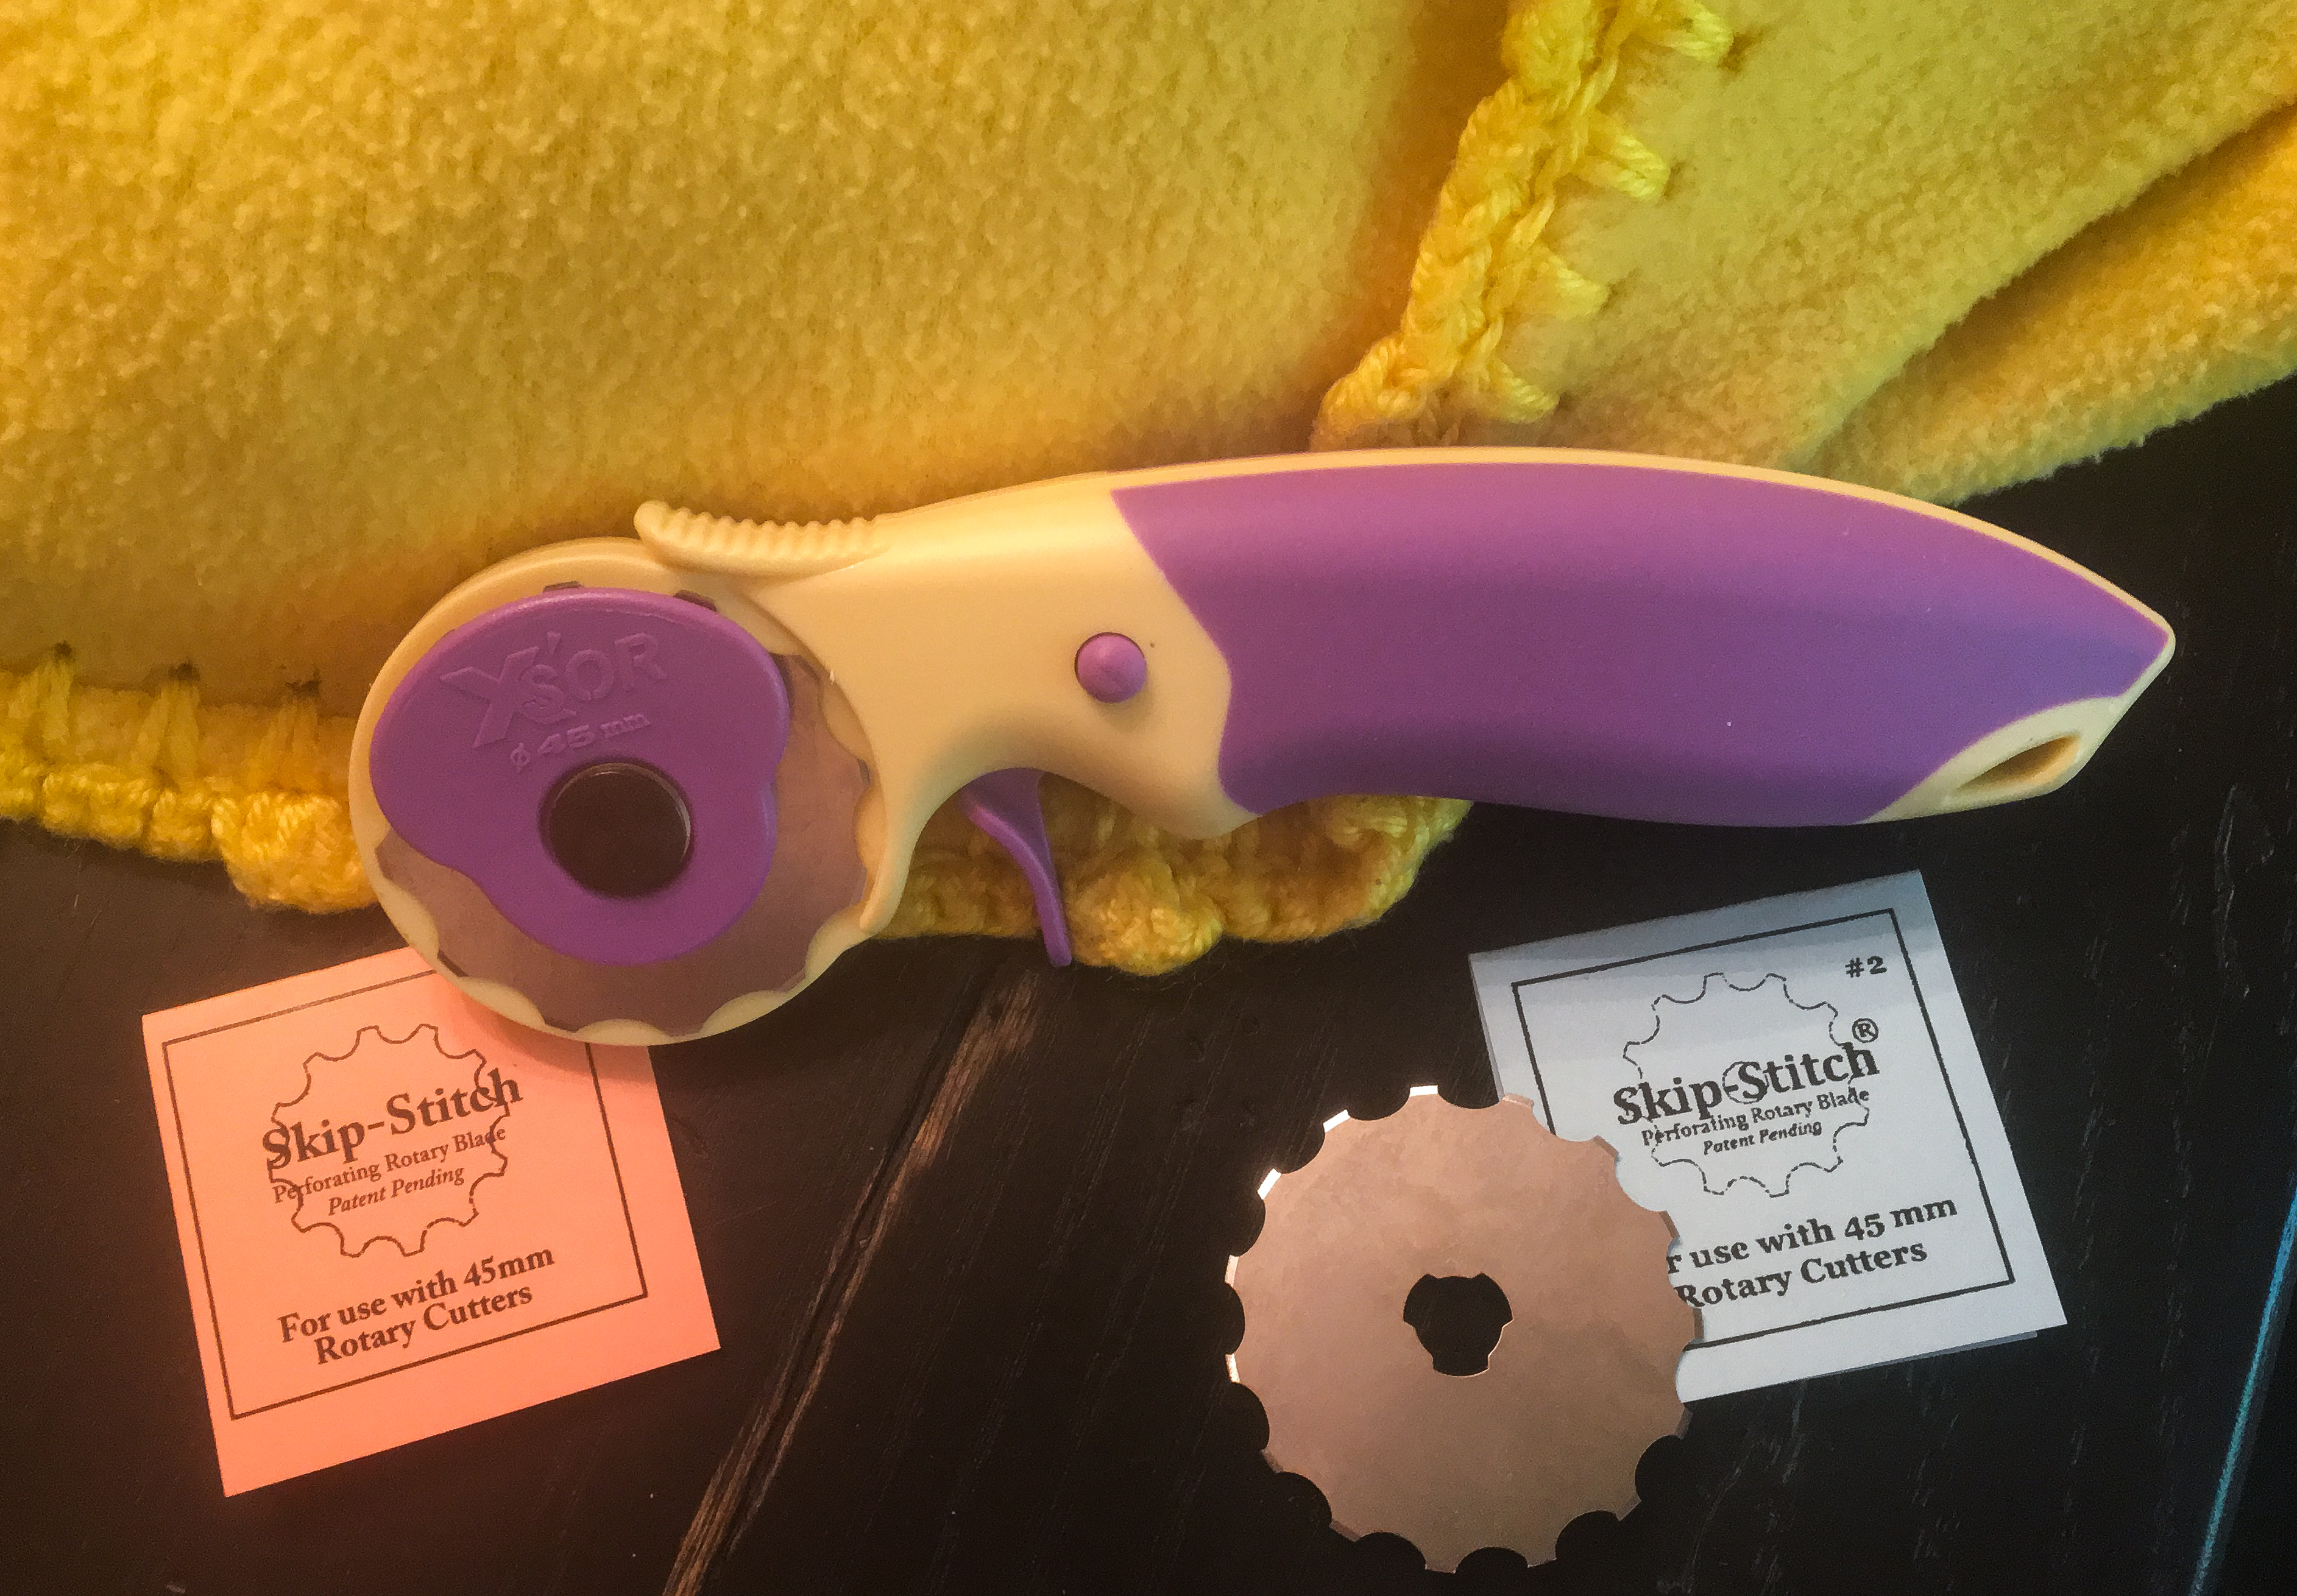
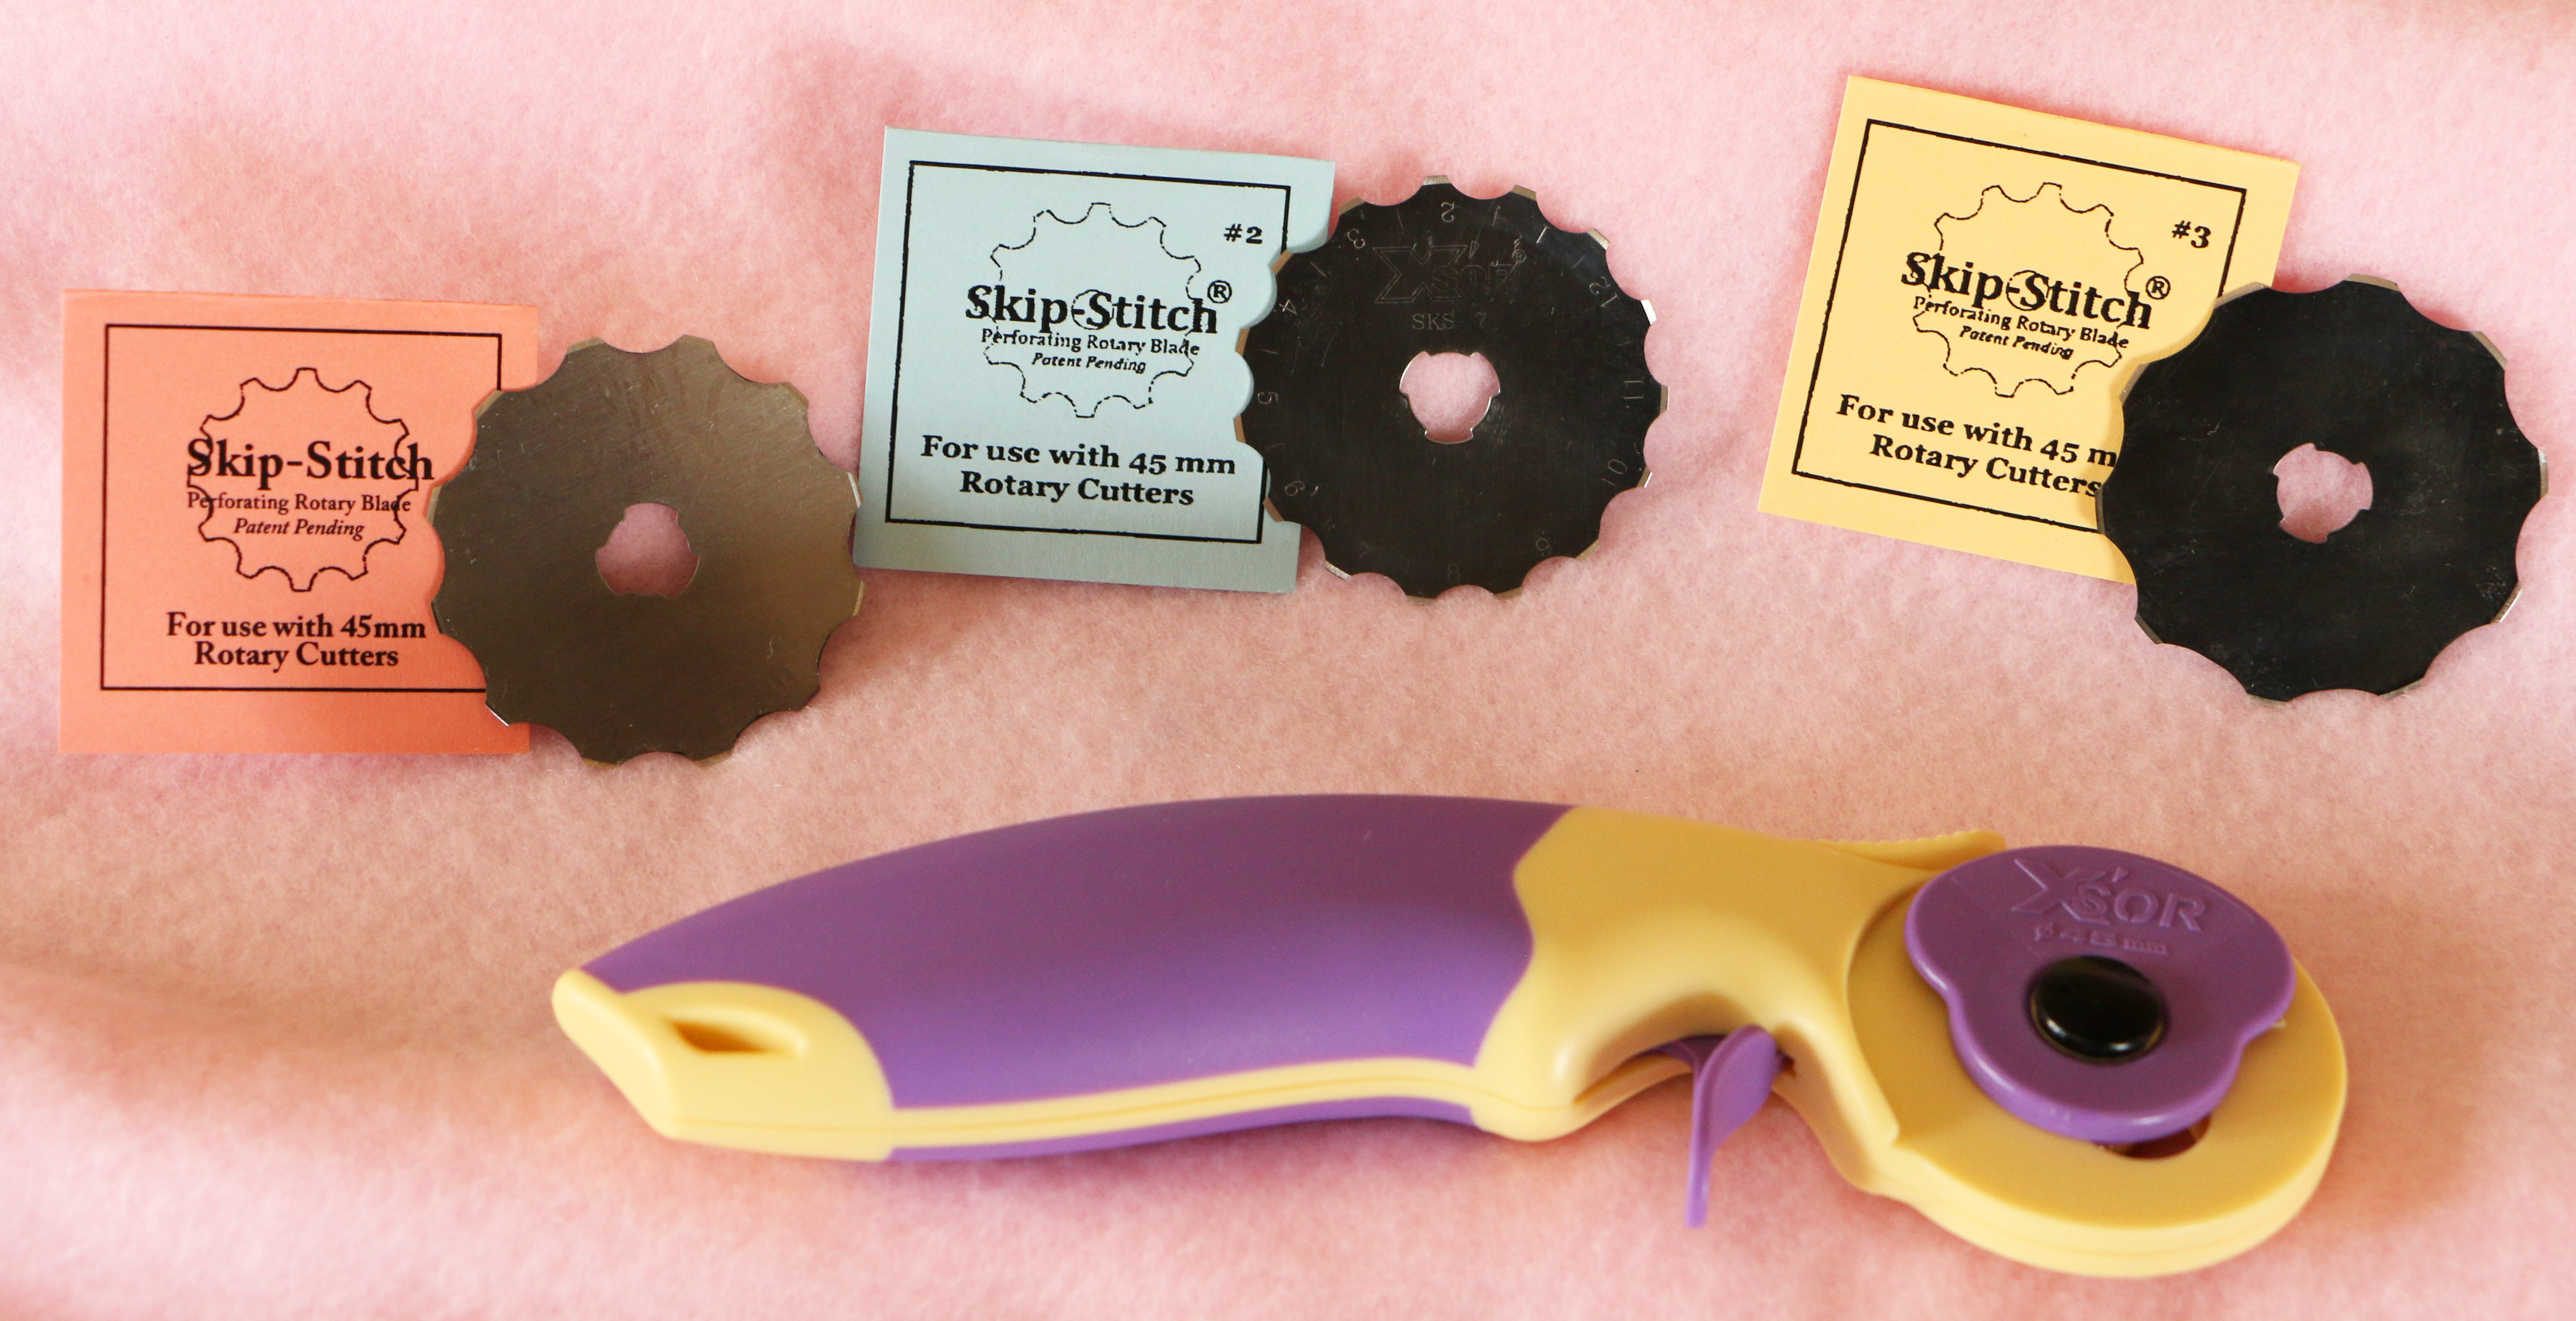
Skip-Stitch Rotary Blade Instructions

- Cut fleece rectangle removing selvages.
- Position ruler lengthwise ¾” from edge of fleece.
- Using a 45mm (Blades #1 – #4) or 60mm (Blade #5) rotary cutter equipped with the Skip-Stitch blade, run cutter along edge of ruler with enough pressure to perforate the fleece.
- Mark last perforation with a pin. Reposition ruler to continue cutting. Place a blade tooth in the last perforation and continue cutting to end of the side. Repeat for each side of your project.
- IMPORTANT – Run blade over each area only once. A second cutting will result in an unusable edge.
- Crochet the Foundation Pattern around your project turning the edge under as you go. This alone makes an attractive finish or, if desired, you may then add the edging pattern of your choice. Trimming a small triangle from each corner before beginning to crochet keeps the underside of the corner neater.
- With right side of fleece facing you, single crochet in any hole but corner hole, chain l, single crochet in next hole, chain l. Continue around blanket, working 3 single crochets in corner holes.
Suggested Finishing Pattern


From the front side of your project, slip-stitch in a back loop of a stitch on the foundation pattern.
- Skip a loop and work 3 double-crochets in the next loop,
- Skip a loop and slip-stitch in the next loop.
- Repeat steps 2 and 3 until you reach the second hole from the corner. Continue the same pattern without skipping any loops until you reach the second hole on the other side of the corner.
- Then, continue skipping loops as before until you reach the second hole from the next corner.
- NOTE – As you finish a round you will probably have to adjust your stitches to make the final joining of the pattern blend in attractively.
Preparing Your Material

Cut strips by layering blocks of fleece or flannel the length of the strips you want for your fringe and have the length of the strips running with the selvage: do not run the length across the material.
Layer 4 pieces of material (right sides up) each time using 24 inches X 7 or 8 inches (whatever length you prefer). Divide the 24 inch piece into 3 blocks of 8 x 8 inch squares, then cut the blocks into nine 1/2 to 3/4 in. strips using the straight edge and cutting mat as guides.
In the picture the three strips inserted into the blanket on the left are 8 inches and on the right: 7 inches. I just “eyeballed” the measurement of width of the strips; no need for such precise measuring. The blade cuts 10 and 1/2 holes per every 12 inches of material, therefore you will need approximately 36 strips per linear yard of material. Example: a 3 foot square blanket would require approximately 144 strips of fringe.(See picture.)
I used a 60mm straight blade in this project for the strips. This saves a lot of time.